
Users can be added, removed, or updated to the blog by the site administrator. The Blog & User Creator option is designed to add users to blogs. It is the fastest way of adding new users to your blog.
For Adding Users
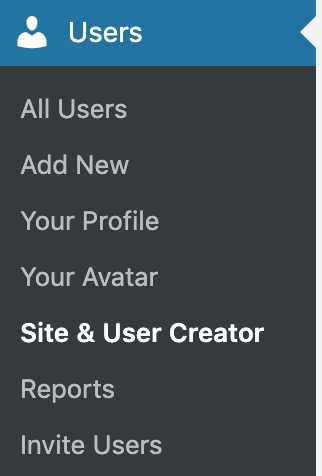
Go to Users > Site & User Creator
Add New Users
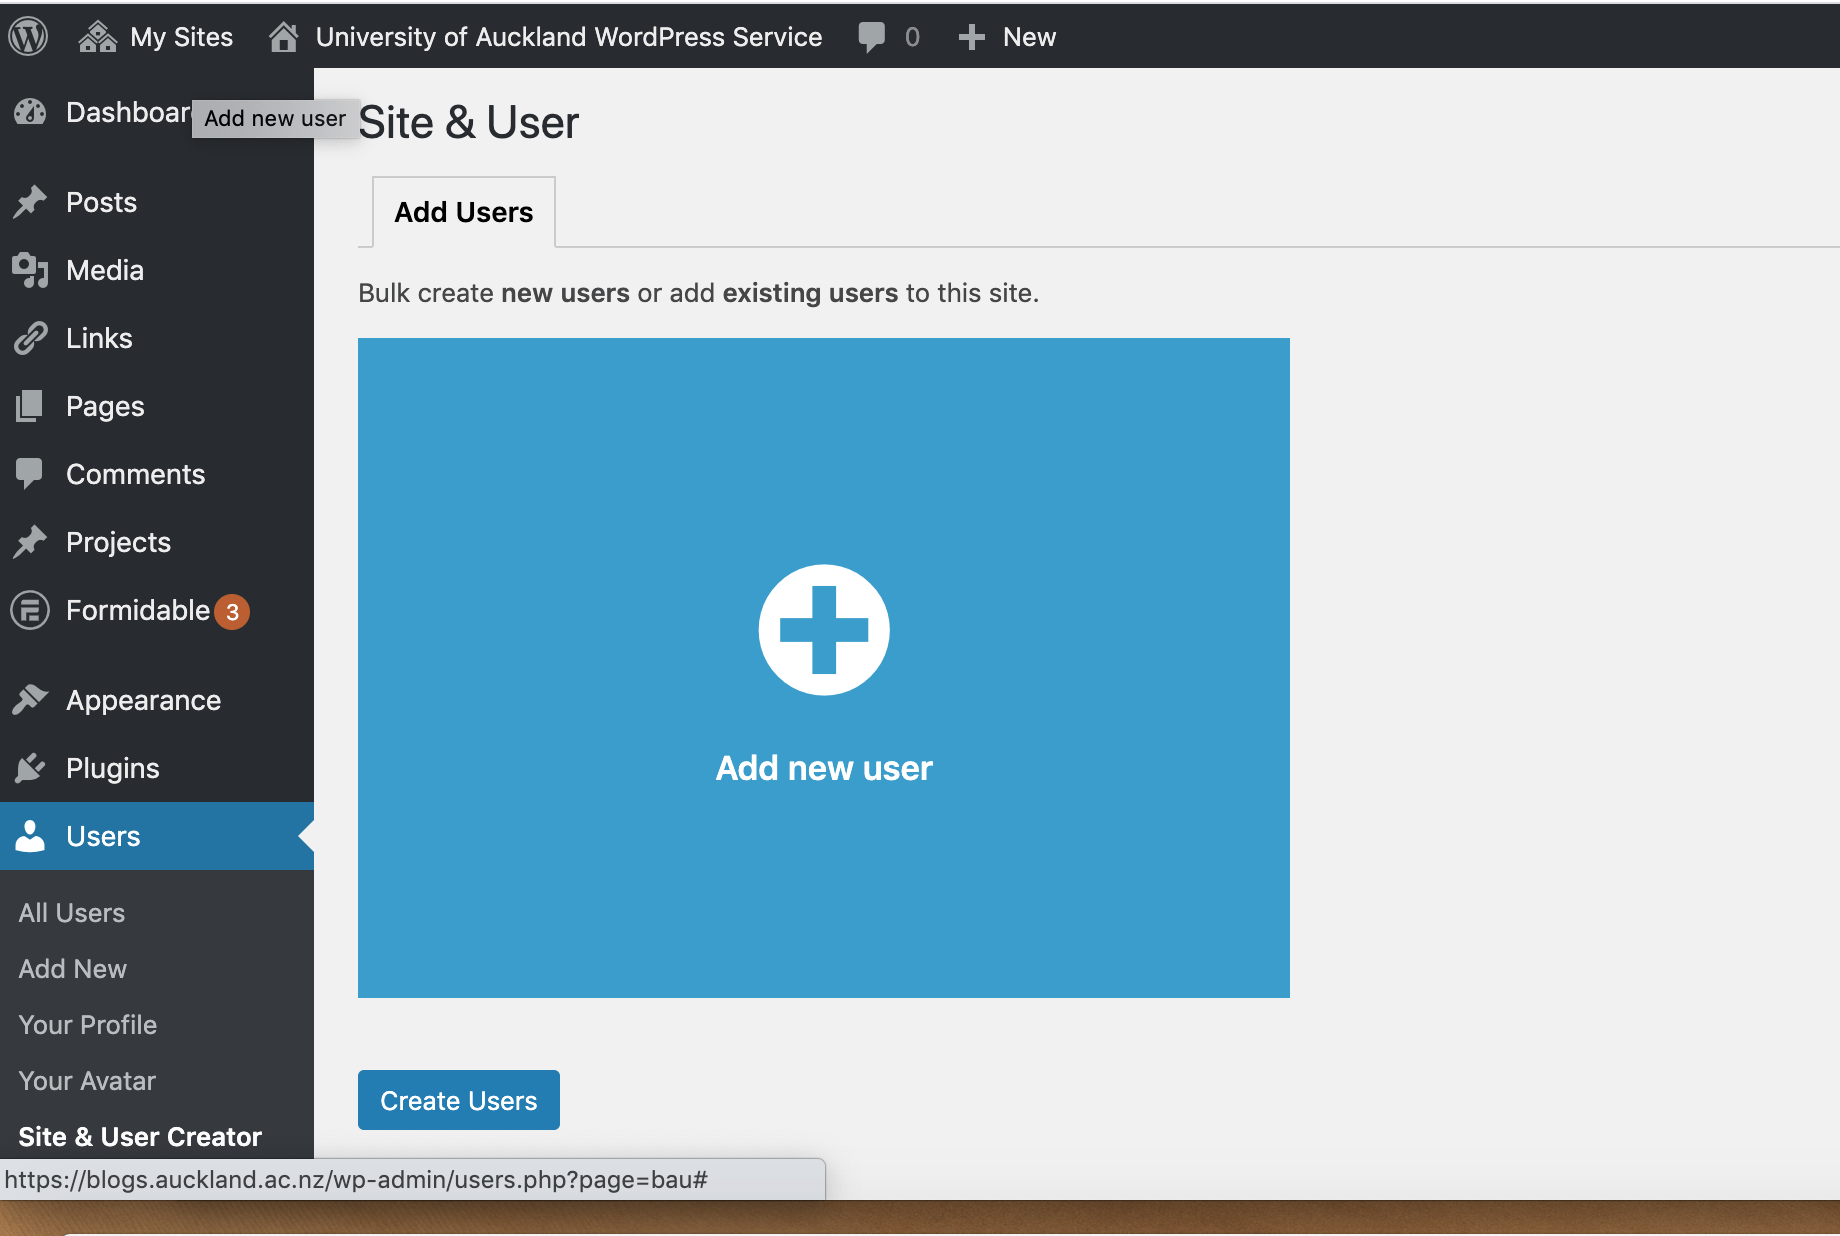
- Click on Add New Users – these are the users who have never accessed CampusPress before
- Add University Username of the user if the user belongs to the university otherwise add a suitable username
- Use only lowercase letters and numbers, with no spaces, in the username
- The username is what they use to sign in to the blog dashboard and is displayed on posts and comments they write. You can’t change a username, however, you can change what name is displayed.
- Add their email address
- You can’t create several usernames with the same email address because the system resets a password based on the email address.
- Select their role (learn more about user role’s here)
- Click Create Users to create and add them to your blog. (You can also click Add new user if you want to add additional users.)
- Once you click Create Users, your users are automatically added to the blog and will be listed in Users > All Users. All new users will receive an email with their login details.
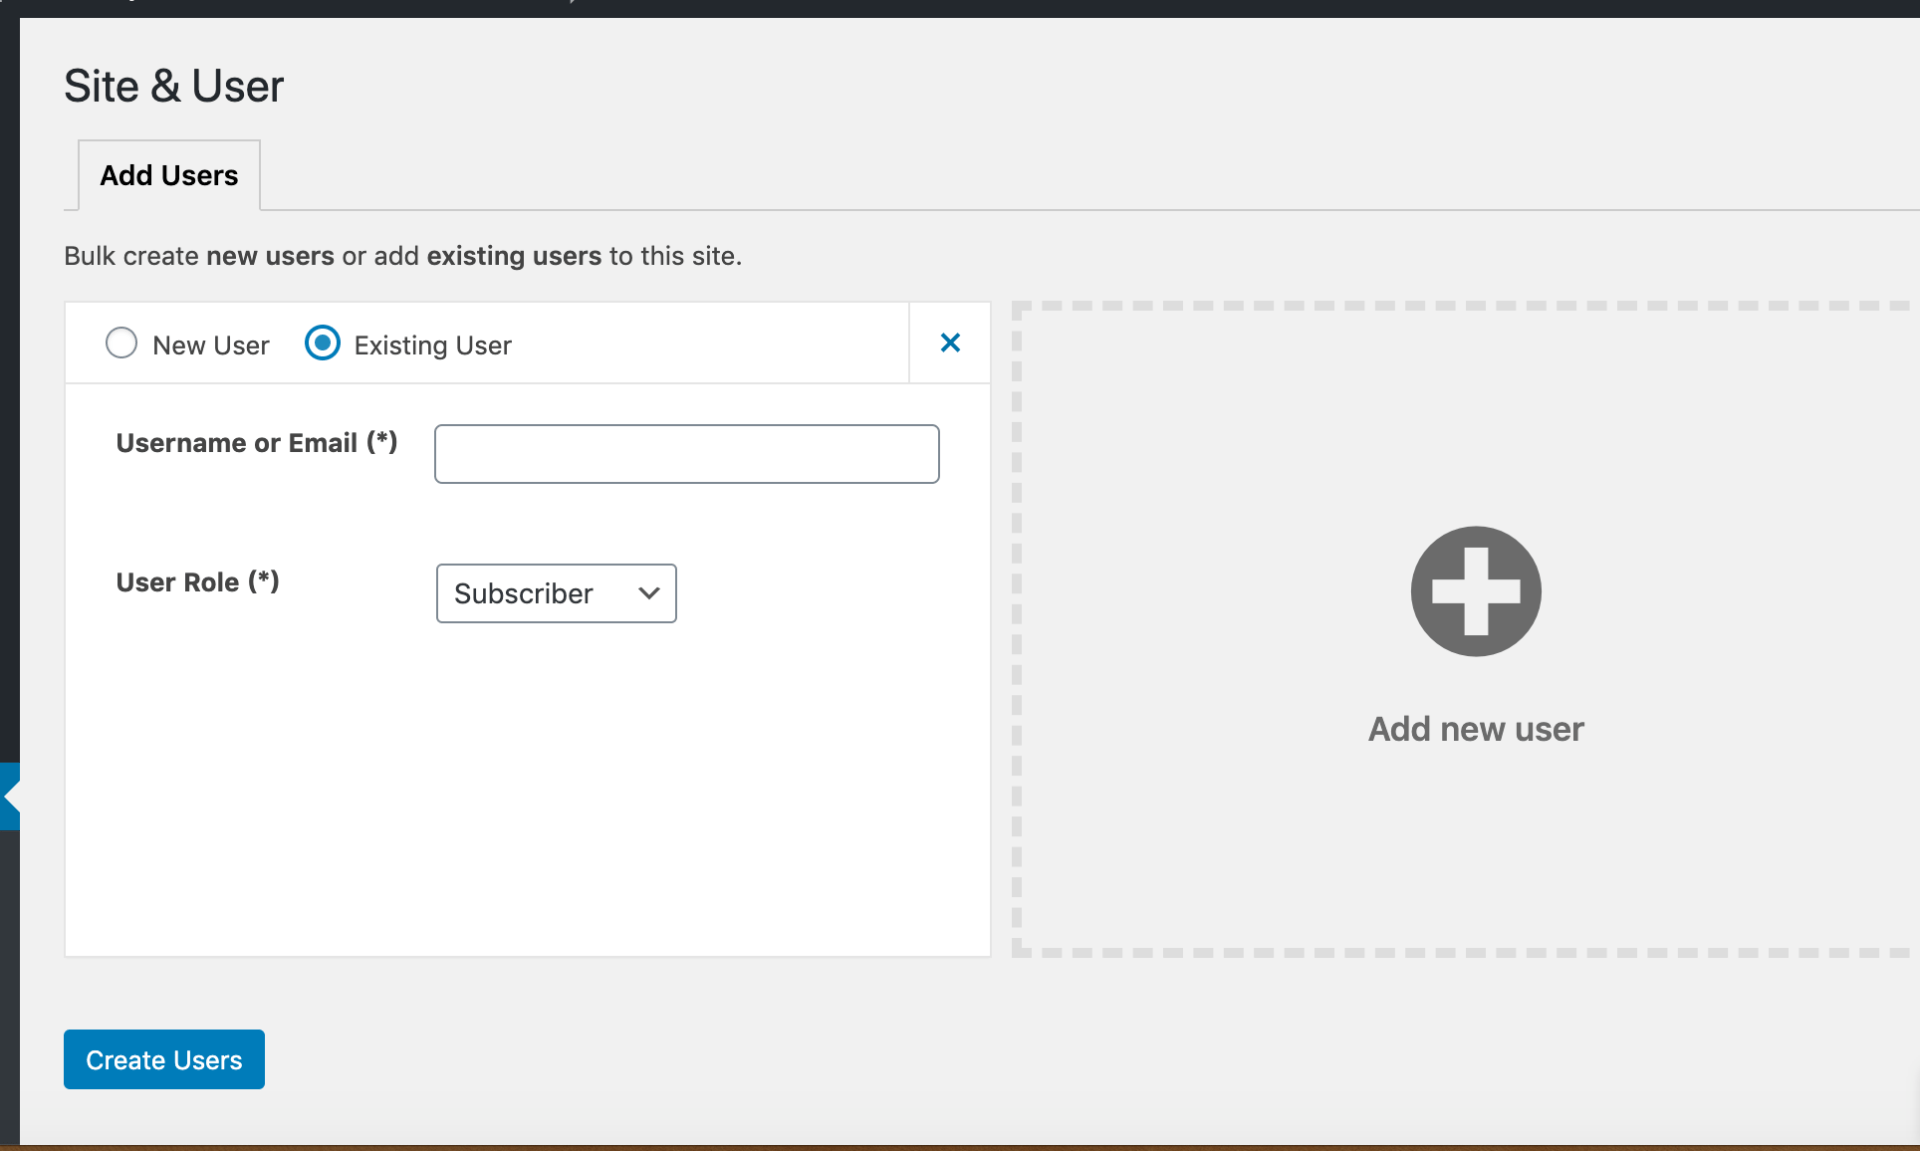
Add existing Users

- Click on Add Existing Users – these are the users who have accessed CampusPress before
- Add their email address
- Select their role (learn more about user role’s here)
- Click Create Users to create and add them to your blog. (You can also click Add More if you want to add additional users.)
- Once you click Create Users, your users are automatically added to the blog and will be listed in Users > All Users. All new users will receive an email with their login details.
Add External Users
External users are mostly Web Designers/Developers who are hired by the university for web designing. There are two ways to add them as users of the CampusPress.
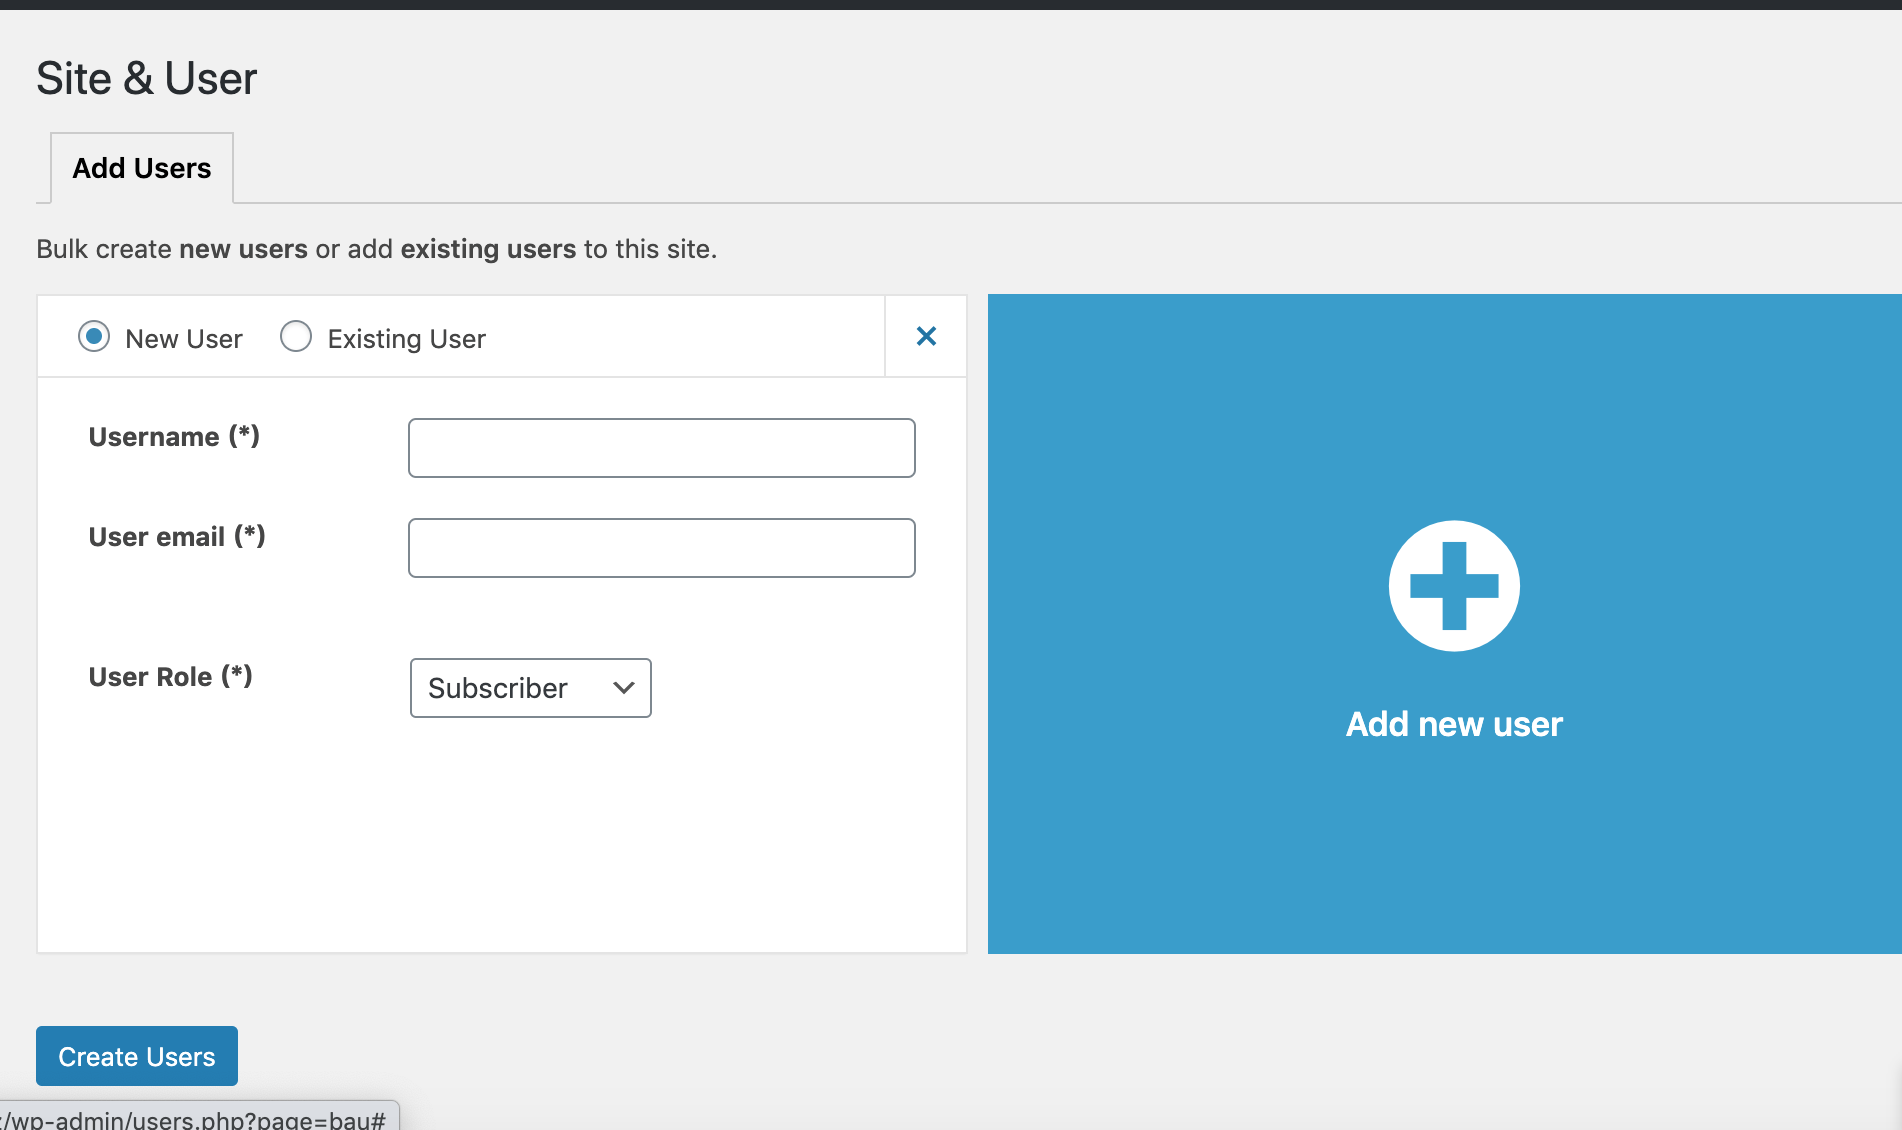
Add as a new user
- Click on Add New Users
- Add a suitable Username
- Add their email address
- Select their role (learn more about user role’s here)
- Click Create Users to create and add them to your blog. (You can also click Add new user if you want to add additional users.)
- Once you click Create Users, your users are automatically added to the blog and will be listed in Users > All Users. All new users will receive an email with their login details.
Register with the University
- Users are required to register with the university.
- Once they are registered, send them the blog dashboard link https://sitename.auckland.ac.nz/wp-admin/index.php to access by using the university’s credentials
- After an access attempt, ask them to let one of the site administrators know their username/email address
- The site Administrator can add them by following steps mentioned in the Add existing users
How to remove users
To remove a user(s) from your site:
- Navigate to the Dashboard of the Site from which you want to remove the user(s)
- Select Users→All Users
- Search for and select the user(s) to remove by clicking the checkbox next to his or her name
- Select Remove from the Bulk Actions dropdown menu
- Click the Apply button to remove
What are User Roles
Roles give site administrators control of what users can and can’t do within a site. Here is a summary of those roles:
- Administrator – has access to all the administrative features for the site
- Editor – can publish and manage posts including the posts of other users
- Author – can publish and manage his or her own posts
- Contributor – can write and manage his or her own posts but cannot publish them
- Subscriber – can only manage his or her profile
Further information about the roles can be found on the Edublogs User Role Overview page.
Note: The roles above are core roles provided to sites. Some plugins can introduce additional user roles which can be assigned to users.
How to update User profiles
Personalize your Sites experience.
To access your profile via your Dashboard goto Users→Your Profile. Alternatively, you can access it by clicking on your name link in the Admin Bar→Edit My Profile.
Here is a non-comprehensive list of how to set some of the more common profile options:
- Email – will be used to notify you for site administrative purposes
- Display Name (external link)- how your name is publicly displayed on posts and comments you write
- Avatar – picture used when you create posts or leave comments
- Admin Color Scheme (external link)- set the colors for the Dashboard
Note: Activating various plugins can introduce new options in the profiles menu.